Lightroom Mobile Preset: 32 Free Colour Settings to Copy
Lightroom mobile preset searches are among the most popular photo editing topics in India. Lightroom is a powerful and free photo editor on Android and iPhone, and presets let you apply a beautiful colour look in one tap. Many people look for DNG preset files, but those downloads can be confusing, broken or hidden behind spammy pages. The easier and safer way is to type the settings yourself and save them as your own preset.
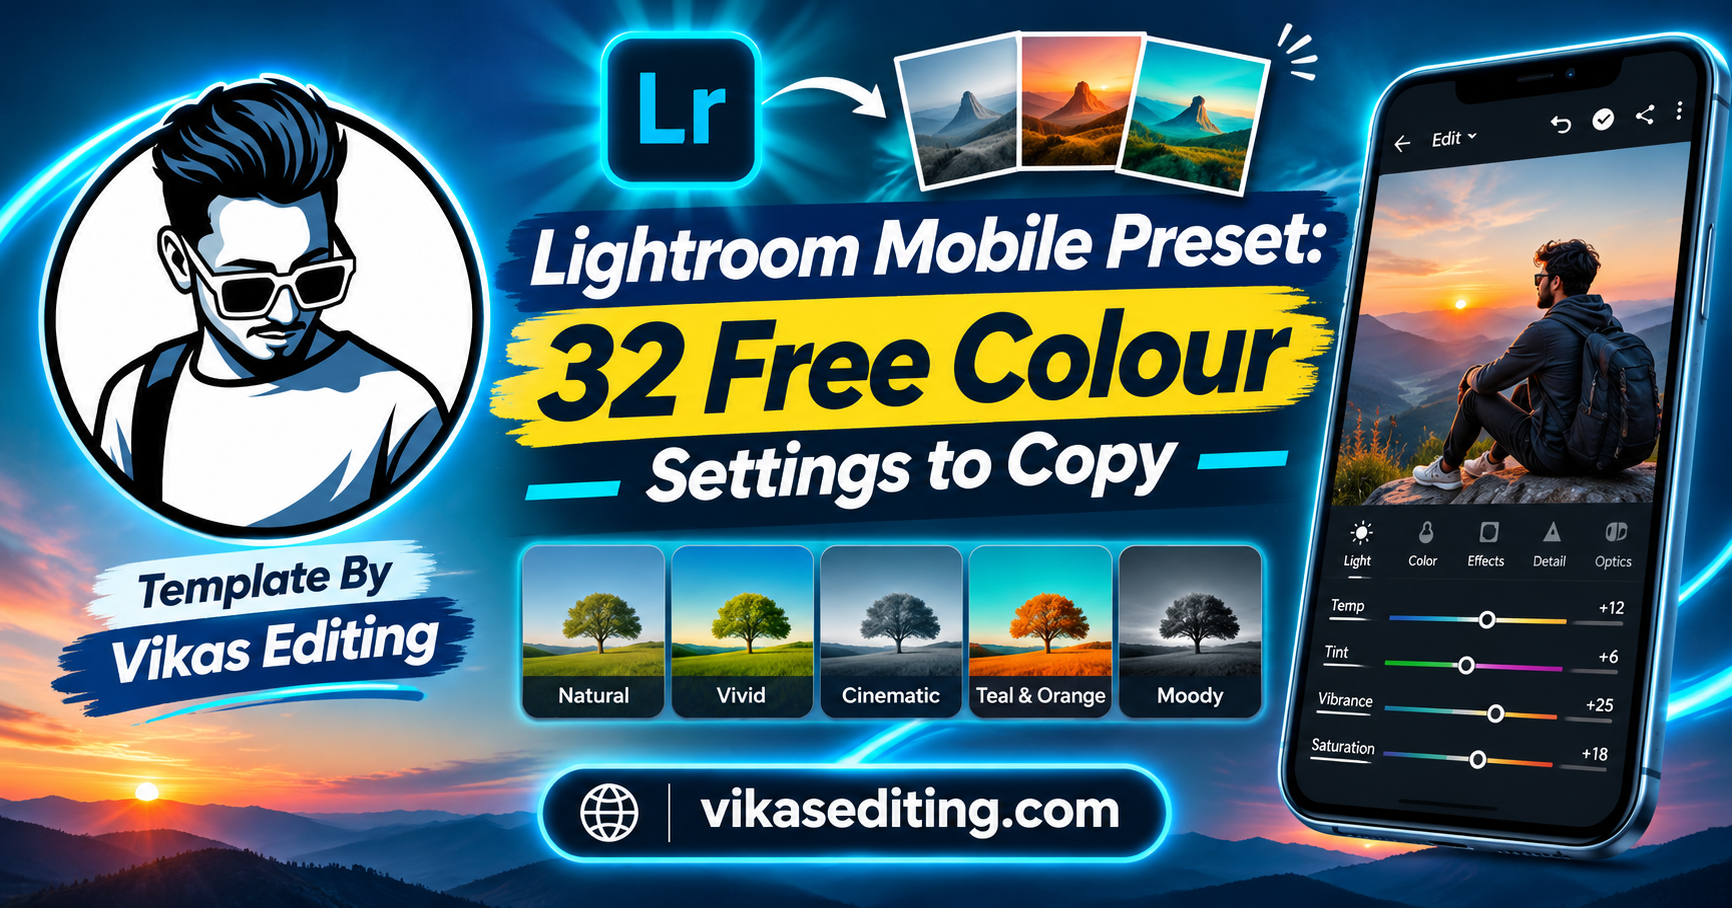
This page gives you 32 ready Lightroom settings grouped into four sets: moody and dark presets, warm and golden presets, aesthetic and soft presets, and portrait and festive presets. Each box lists the exact values for the Light, Color, Effects and Detail panels. Copy the values, apply them to your photo and save them as a preset you can use again and again.
After the settings, you will find a step-by-step guide, how to save presets in Lightroom mobile, a table of looks, tips for natural skin tones, why typing values is better than downloading DNG files, a way to create your own presets, common mistakes and answers to frequent questions.
Check: Template By Vikas Editing
Moody and Dark Lightroom Mobile Preset Settings
Moody presets are loved for street, travel and attitude photos.
1Lightroom Mobile Preset Dark Moody Classic
2Teal Moody Street
3Monochrome Portrait Drama
4Cold Rainy Mood
5Dark Forest Green
6Night City Glow
7Matte Black Moody
8Brown Coffee Tone
Warm and Golden Lightroom Mobile Preset Settings
Warm presets give a happy, sunny and glowing look.
9Lightroom Mobile Preset Golden Hour Glow
10Warm Summer Day
11Honey Tone Portrait
12Desert Sand Warm
13Vintage Warm Film
14Orange and Teal Warm
15Sunlit Room
16Autumn Warm
Aesthetic and Soft Lightroom Mobile Preset Settings
Aesthetic presets give a light, airy and dreamy look.
17Lightroom Mobile Preset Bright Airy
18Soft Pastel Pink
19Creamy Beige
20Dreamy Blue Sky
21Faded Film Aesthetic
22Lavender Dream
23Mint Fresh
24White Minimal Clean
Portrait and Festive Lightroom Mobile Preset Settings
These settings keep skin natural while bringing out festive colours.
25Lightroom Mobile Preset Natural Skin Portrait
26Indian Skin Glow
27Diwali Festive Gold
28Wedding Warm Soft
29Holi Bright Colours
30Saree Rich Colours
31Studio Headshot Clean
32Christmas Red and Green
How to Apply a Lightroom Mobile Preset
Step 1: Open Lightroom Mobile
Open the free Lightroom app and import your photo by tapping the add photo icon.
Step 2: Open the Edit Panels
Tap your photo, then use the panels at the bottom: Light, Color, Effects and Detail.
Step 3: Enter the Light Values
Tap Light and set Exposure, Contrast, Highlights, Shadows, Whites and Blacks from the box.
Step 4: Enter the Color Values
Tap Color and set Temp, Tint, Vibrance and Saturation. Tap Mix to adjust single colours like Orange or Blue.
Step 5: Add Effects and Detail
Tap Effects for Clarity, Dehaze, Texture, Vignette and Grain. Tap Detail for Sharpening.
Step 6: Save as a Preset
Tap the three dots at the top, choose Create Preset, name it and save. It will appear in your Presets panel.
Applying Your Preset to Other Photos
Open a new photo, tap Presets, find your saved preset under User Presets and tap it.
Adjust Exposure Per Photo
Every photo has different light. After applying a preset, adjust Exposure slightly so the photo looks balanced.
Copying Settings to Many Photos
Edit one photo, tap the three dots, choose Copy Settings, then select other photos and Paste Settings. This saves time for photo dumps.
Keep a Consistent Feed
Using the same preset across your feed makes your profile look clean and professional.
Lightroom Mobile Looks Compared
| Look | Best For | Key Sliders | Mood |
|---|---|---|---|
| Moody and dark | Street, travel, attitude | Highlights down, Saturation down | Dramatic |
| Warm and golden | Sunsets, beach, travel | Temp up, Shadows up | Happy and sunny |
| Aesthetic and soft | Minimal and girly feeds | Exposure up, Contrast down | Light and dreamy |
| Portrait and festive | Faces, weddings, festivals | Orange luminance up | Natural and rich |
Tips for Natural Indian Skin Tones
Use the Orange Channel
Skin tones live mostly in orange. Lowering orange saturation and raising orange luminance gives a clean, natural glow.
Avoid Heavy Temperature Shifts
Very warm settings can make skin look too orange, and very cool settings can make it look grey.
Lower Texture Gently
A small negative Texture value softens skin while keeping it real. Avoid going below -20.
Do Not Over-Brighten
Too much exposure can wash out faces. Use shadows to brighten faces instead.
Check on a Real Face Photo
Test every preset on a portrait before saving, not just on landscapes.
Why Type Values Instead of Downloading DNG Files
DNG preset files are popular, but many download pages are full of fake buttons, ads and redirects. Some files are broken or made for the desktop version. Typing values is safer and teaches you how editing works.
Always Works
Values work on any phone with the free Lightroom app.
No Risky Downloads
You avoid suspicious websites and unknown files.
Easy to Adjust
You understand each slider, so you can fine-tune the preset for any photo.
Easy to Share
You can share your values in a caption, and followers can recreate your look.
How to Create Your Own Lightroom Mobile Preset
Step 1: Pick a Mood
Decide whether you want moody, warm, soft or festive.
Step 2: Balance Light
Lower highlights and raise shadows to recover detail. Then set contrast.
Step 3: Set Colour
Adjust temperature and tint for the mood, then use Mix for single colours.
Step 4: Add Effects
Use Clarity, Dehaze, Vignette and Grain lightly to finish the look.
Step 5: Save and Test
Save as a preset and test it on five different photos. Adjust if needed.
Name Presets Clearly
Use names like “Moody Street” or “Diwali Gold” so you can find them quickly.
Understanding Each Lightroom Slider
Knowing what each slider does helps you adjust any lightroom mobile preset for your own photos.
Exposure
Exposure brightens or darkens the whole photo. Use it to balance the overall brightness first.
Contrast
Contrast increases or decreases the difference between dark and bright areas. More contrast feels bold; less feels soft.
Highlights and Shadows
Highlights control the brightest areas like skies. Shadows control dark areas like hair and corners. Lowering highlights and raising shadows recovers detail.
Whites and Blacks
These set the brightest white and darkest black points. Small changes add punch or a matte fade.
Temp and Tint
Temp moves colours between blue and yellow. Tint moves them between green and magenta.
Vibrance and Saturation
Vibrance boosts muted colours gently and protects skin tones. Saturation boosts all colours equally.
Color Mix
Color Mix lets you change the hue, saturation and luminance of single colours. This is where skin tones and skies are fine-tuned.
Texture, Clarity and Dehaze
Texture affects fine details like skin. Clarity adds mid-tone contrast for depth. Dehaze removes haze or adds a soft misty look when lowered.
Vignette, Grain and Sharpening
Vignette darkens edges, Grain adds film texture and Sharpening makes details crisp.
Order of Editing
Start with Light, then Color, then Effects and finally Detail. This order gives the most consistent results.
Taking Photos That Edit Well
Presets work best on good photos. Shoot in soft daylight, near a window or outdoors in the morning or evening. Avoid mixing yellow room lights with daylight in the same photo. Tap your subject’s face to focus and set exposure. If your phone allows, shoot in RAW or Pro mode for more editing flexibility. Keep the lens clean, because a smudged lens makes photos look hazy. A clean, well-lit photo makes every lightroom mobile preset shine.
Common Mistakes and Fixes
Photo Looks Too Dark
Raise Exposure or Shadows slightly after applying the preset.
Skin Looks Orange
Lower Orange saturation and Temp a little.
Photo Looks Flat
Increase Contrast or Clarity by a few points.
Too Much Noise
Lower Clarity and Sharpening, and avoid very high Shadows on dark photos.
Preset Missing From the List
Check the User Presets section in the Presets panel.
Picking a Preset for Your Feed
The right lightroom mobile preset depends on the feel you want for your profile.
For a Moody Travel Feed
Use Dark Moody Classic or Teal Moody Street on all your travel photos for a bold, cohesive look.
For a Soft Aesthetic Feed
Bright Airy, Creamy Beige and Soft Pastel Pink create a light, calm grid.
For a Warm Lifestyle Feed
Golden Hour Glow, Honey Tone Portrait and Sunlit Room make everyday moments feel cozy.
For a Portrait and Fashion Feed
Natural Skin Portrait, Indian Skin Glow and Saree Rich Colours keep faces natural and outfits vibrant.
For Festival Posts
Diwali Festive Gold, Holi Bright Colours and Christmas Red and Green bring out festive colours beautifully.
Plan Your Grid
Before posting, preview how your edited photos look next to each other. A consistent preset makes your grid look like one beautiful story.
Presets for Different Phone Cameras
Every phone camera has its own colour style. Some make photos warm and bright, others cool and contrasty. After applying a preset, adjust temperature and exposure slightly to match your phone. Save a tuned version of your favourite preset, like “Golden Glow – My Phone”, so it always looks right.
Use Your Edited Photos
Your edited photos look great in a photo dump reel. Try a photo template from our [link to: Template by Vikas Video CapCut post]. For video colour, see our [link to: Alight Motion CC Preset post] and our [link to: Filter by Vikas Editing post]. For AI portraits to edit, check our [link to: Gemini AI Photo Prompt post].
Sharing Your Own Preset Values
When you create a preset you love, share it with your followers. Post a before-and-after carousel and list the values in the caption. People enjoy learning how a look was made, and sharing helps build a loyal audience. Many photography pages grow quickly by teaching their lightroom mobile preset settings openly.
Make It Easy to Follow
Write values in the same order as the app: Light, Color, Effects, Detail. This helps followers copy them without confusion.
Frequently Asked Questions
What is a Lightroom mobile preset?
A Lightroom mobile preset is a saved set of editing values that you can apply to photos in one tap for a consistent look.
Is Lightroom mobile free?
Yes. The basic Lightroom mobile app is free and includes all the sliders used on this page.
Do I need DNG files?
No. You can type the values from this page and save them as your own preset.
Can I use these presets for videos?
Lightroom mobile has some video editing features, but these settings are made for photos. For videos, try our Alight Motion CC settings.
Which preset is best for portraits?
Natural Skin Portrait and Indian Skin Glow are made to keep skin tones natural.
How do I make my feed look consistent?
Use the same one or two presets on all photos and adjust only exposure for each picture.
Conclusion
A lightroom mobile preset gives your photos a beautiful, consistent look in one tap. Choose a moody, warm, aesthetic or festive setting, type the values into the Light, Color, Effects and Detail panels and save it as your own preset. Protect skin tones with the orange channel, adjust exposure for each photo and skip risky DNG downloads. With these 32 settings, your photos will always look polished and ready to post.